Unlock Year-Round Flavor: Easy Ways to Dry Dill
Dill, with its feathery fronds and distinctive aniselike flavor, is a culinary delight that elevates everything from seafood to salads and pickles. If you're a fan of this versatile herb, you know how frustrating it can be when your fresh dill supply runs out, or your bountiful garden harvest starts to wilt. The good news is, learning how to dry dill is incredibly simple and allows you to capture its unique essence, ensuring you have a steady supply of fresh flavor regardless of the season. Whether you're a seasoned gardener looking to preserve your yield or just want to extend the life of store-bought sprigs, mastering dill preservation is an essential skill for any home cook.Essential First Steps for Drying Dill
Before embarking on any drying method, proper preparation is key to ensuring your dill retains its flavor and quality. These initial steps are universal, regardless of whether you choose to air dry, use a dehydrator, or oven dry your herbs.Start by gathering all the fresh dill sprigs you intend to preserve. Look for vibrant green leaves without any signs of yellowing or wilting.
- Thorough Washing: Gently wash the dill under cool running water. This helps remove any dirt, insects, or residues. Be careful not to bruise the delicate fronds.
- Remove Excess Moisture: This step is critical to prevent mold and ensure efficient drying. You can either gently pat the dill dry with clean paper towels or, for a more efficient method, toss it into a salad spinner. Just like with lettuce, a few quick spins will effectively remove most of the surface moisture.
- Separate Leaves from Seeds: While dill seeds are also valuable for cooking and can be dried separately, for dried dill *herb*, you'll want to separate the delicate leaves from the seed heads. The seeds have a different flavor profile and texture and require slightly different drying and storage conditions. Focus on drying the vibrant green fronds for culinary use.
Mastering Dill Preservation: Dehydrator, Air, and Oven Methods
There are several straightforward techniques for drying dill, each offering unique advantages. Your choice will likely depend on the tools you have available and the amount of time you wish to invest. For a deeper dive into these techniques, you might find our article Preserve Your Dill Harvest: Dehydrator, Oven, and Air Methods particularly helpful.1. The Efficient Dehydrator Method
Using a food dehydrator is arguably the most controlled and consistent way to dry dill, yielding beautifully preserved herbs with excellent color and flavor retention.Steps:
- Prepare Trays: Line your dehydrator trays with a piece of parchment paper. This prevents the small dill fronds from falling through the grates and makes cleanup easier.
- Even Distribution: Evenly scatter the prepared, moisture-free dill sprigs across the parchment-lined trays. Ensure there's enough space between the sprigs for air to circulate freely. Overcrowding can lead to uneven drying or even mold.
- Set Temperature and Time: Adjust the dehydrator's temperature to a low setting, ideally around 95 degrees Fahrenheit (35 degrees Celsius). This gentle heat slowly removes moisture without "cooking" the dill, preserving its volatile oils and vibrant green color.
- Monitor Drying: The drying process typically spans four to six hours. Begin checking the dill's texture around the four-hour mark. It should be brittle and easily crumble between your fingers when fully dry. If it still feels pliable or soft, continue drying in half-hour increments until it reaches the desired crispness.
- Cool Before Storing: Once perfectly dry, turn off the dehydrator and allow the dill to cool completely on the trays before processing further.
Expert Tip: Dehydrators are excellent for preserving herbs because they maintain a consistent low temperature, preventing nutrient and flavor degradation often seen with higher heat methods. They are a fantastic investment if you regularly preserve garden herbs.
2. The Classic Air Drying Method (Tool-Free)
Air drying is a traditional and wonderfully simple way to preserve dill, requiring no special kitchen equipment. It's an energy-efficient method that harnesses natural air circulation.Steps:
- Create Bundles: Gather small bunches of washed and dried dill sprigs. The bundles shouldn't be too thick, as this can hinder air circulation in the center and lead to mold.
- Secure and Hang: Tie the base of each bundle together with kitchen twine or a rubber band. Hang the bundles upside down in a clean, dry, well-ventilated area of your home. Ideal locations include a pantry, an airy corner of your kitchen, or a spare room, as long as it's away from direct sunlight, excessive humidity, and heat sources.
- Allow to Dry: The natural drying process usually takes approximately one to two weeks. The timeframe can vary depending on the humidity levels in your home.
- Check for Dryness: After a week, begin to assess the texture of the dill. It should feel completely crisp and brittle, crumbling easily when gently rubbed between your fingers. If there's any flexibility, allow it more time to dry.
Expert Tip: Good air circulation is paramount for successful air drying. Avoid hanging bundles in damp basements or steamy kitchens. Direct sunlight can bleach the dill's color and diminish its flavor, so a shaded, airy spot is best. For an even more comprehensive guide to air drying various herbs, be sure to check out Master Dill Drying: Step-by-Step Guide for Year-Round Freshness.
3. The Speedy Oven Drying Method
When time is of the essence, your oven can come to the rescue for drying dill. This method is quick, but it requires careful monitoring to prevent burning.Steps:
- Preheat Oven to Lowest Setting: Preheat your oven to its absolute lowest temperature setting. If your oven doesn't go below 200°F (93°C), aim for between 225-270 degrees Fahrenheit (107-132°C), but be extra vigilant. The goal is to dehydrate, not cook, the dill.
- Prepare Baking Sheet: Line a baking sheet with wax paper or parchment paper. This prevents the dill from sticking and makes cleanup easier.
- Spread Dill Evenly: Arrange the washed and thoroughly dried dill sprigs in a single layer on the prepared baking sheet. Ensure even distribution to promote uniform drying.
- Monitor Closely: Place the baking sheet in the preheated oven. Allow the dill to dry for approximately 25 minutes, but here’s the crucial part: check its progress every 5 to 10 minutes. Dill can go from perfectly dry to burnt very quickly.
- Cool and Grind: Once the dill is dry, brittle, and easily crumbles, remove the baking sheet from the oven. Let the dried dill cool completely on the baking sheet before moving on to the next step.
Expert Tip: Some ovens have a "warm" or "proof" setting that works wonderfully for drying herbs at a very low temperature. If your oven cycles between temperatures, you might even consider leaving the oven door slightly ajar with a wooden spoon to maintain a lower, more consistent temperature and allow moisture to escape.
Post-Drying Processing and Storage for Longevity
Once your dill is completely dry, the job isn't quite finished. Proper post-drying processing and storage are vital to maintaining its flavor, aroma, and extending its shelf life.Grinding the Dill: After cooling, transfer the brittle dill sprigs into a spacious bowl. You can then gently crumble the dill by hand, or for a finer consistency, use a mortar and pestle or even a clean coffee grinder (dedicated to herbs) to grind the dried leaves. A consistent texture ensures optimal flavor distribution in your cooking and more efficient storage.
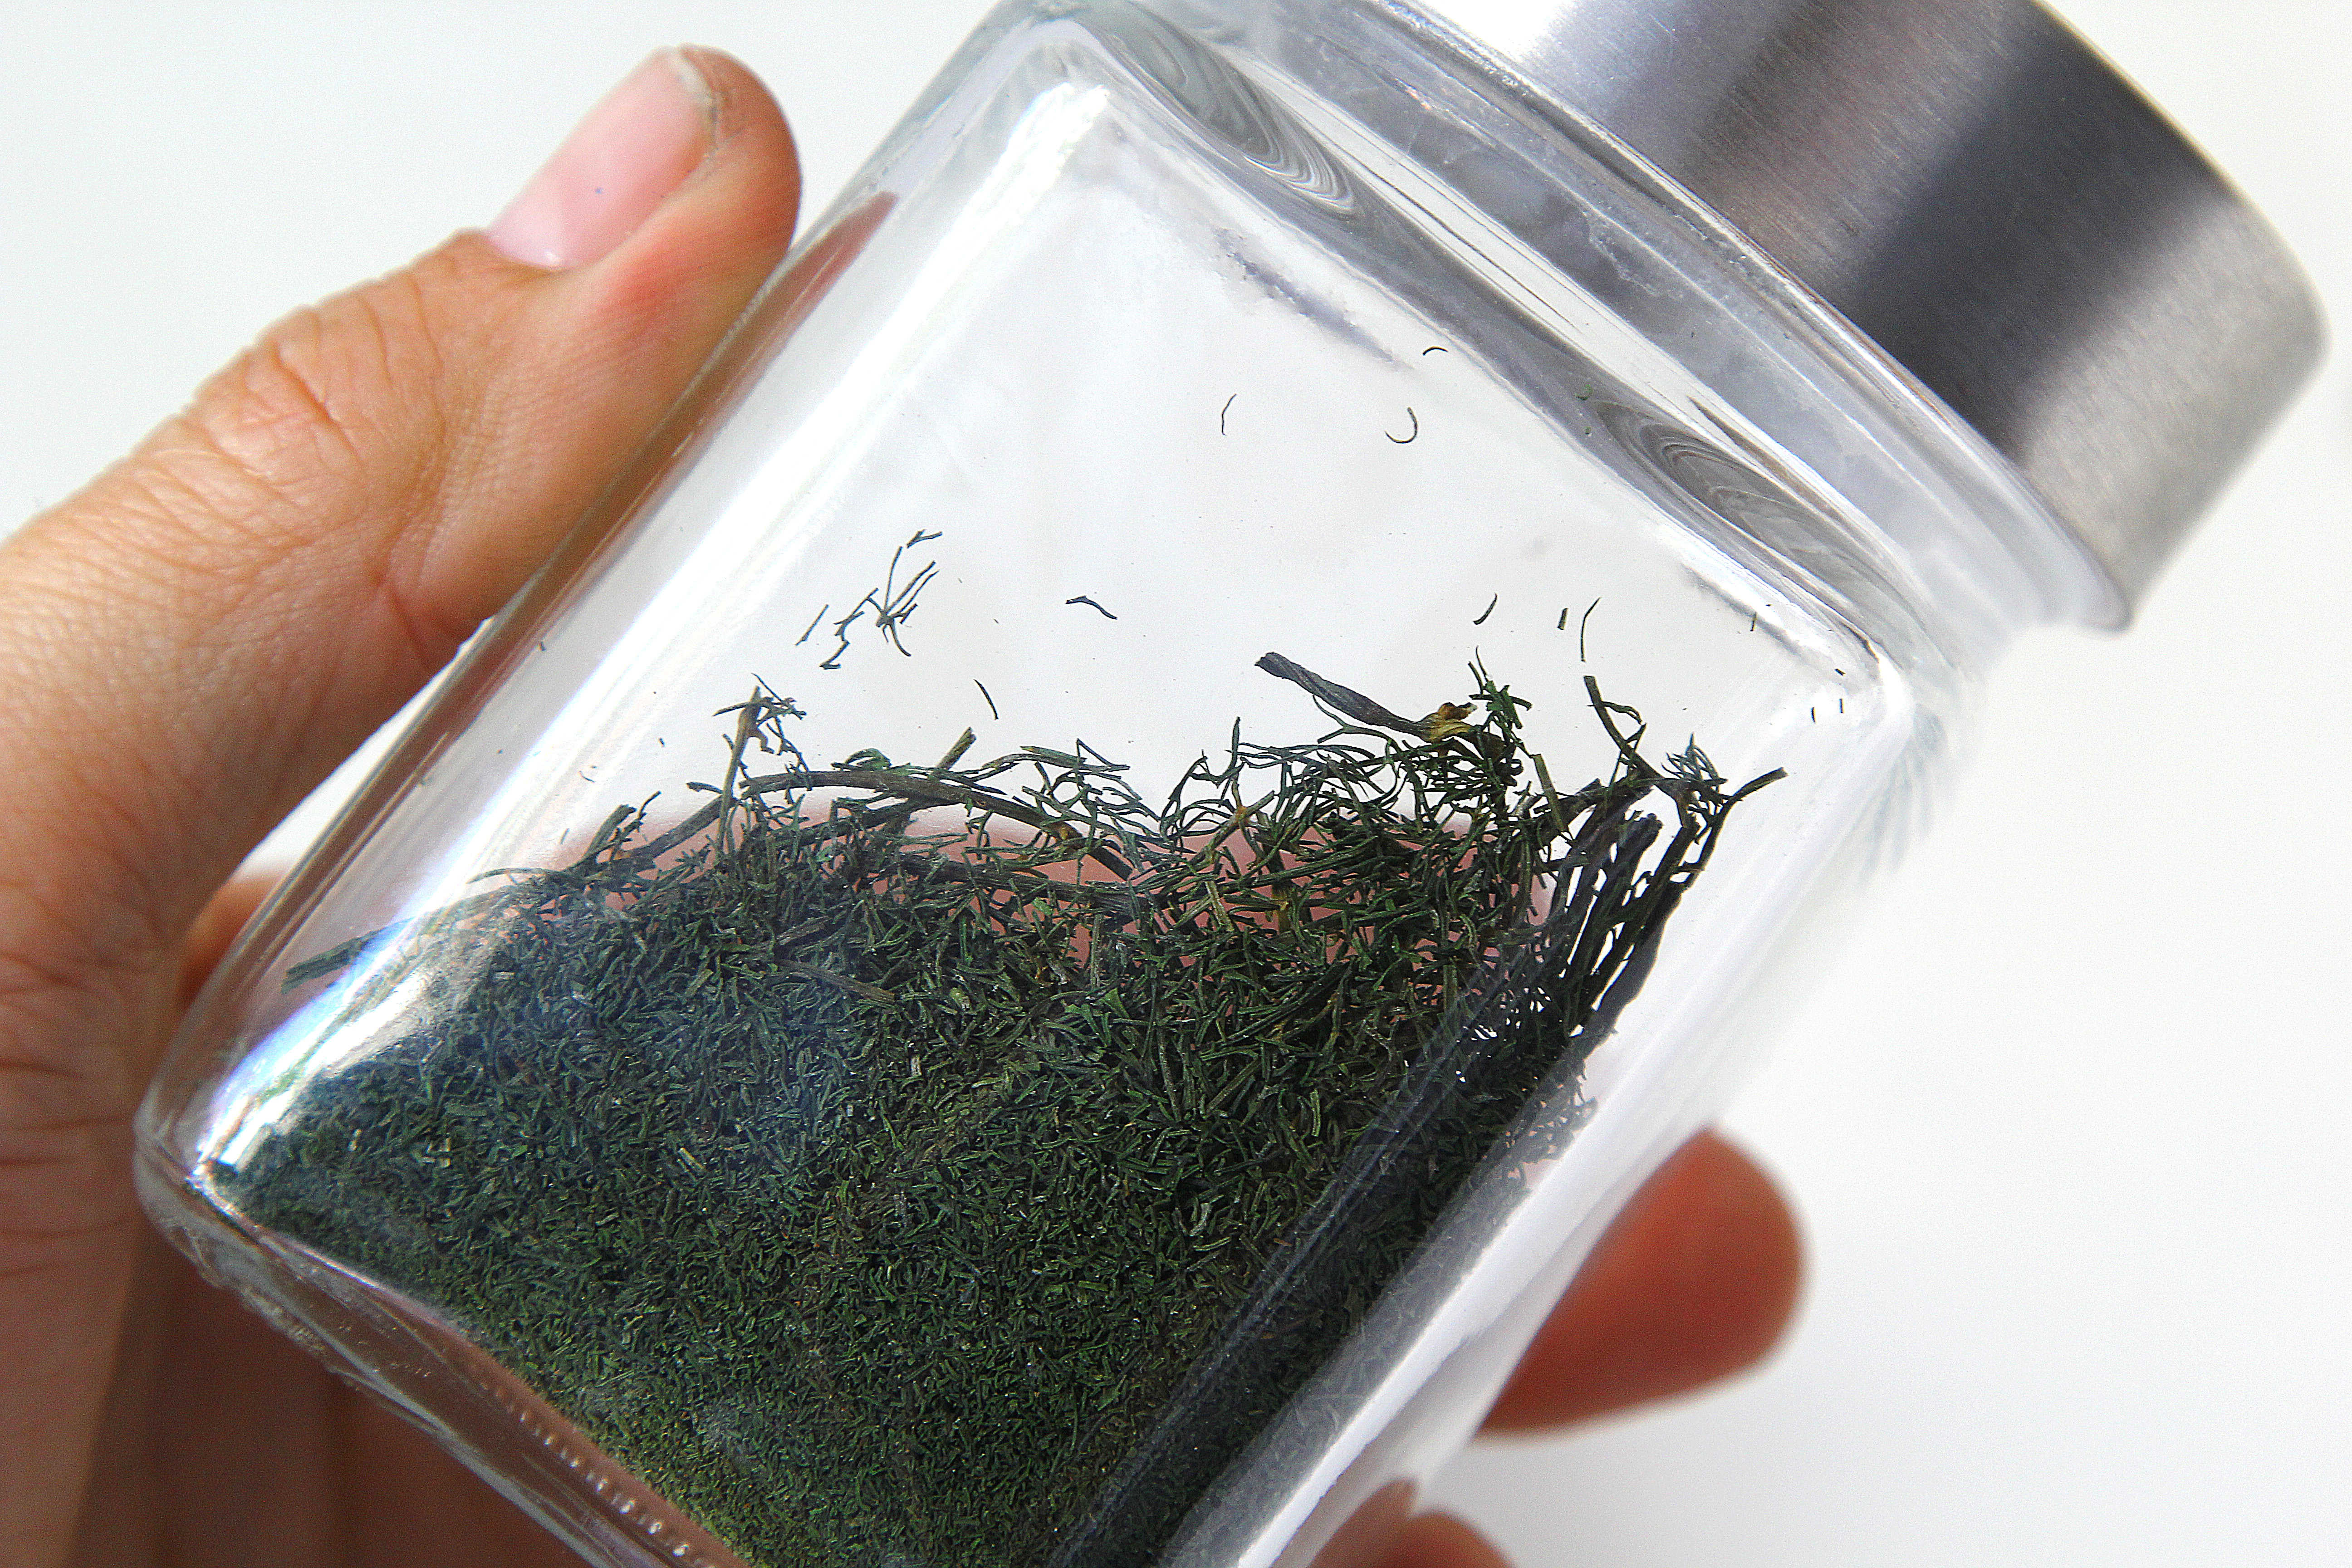
Optimal Storage: The enemy of dried herbs is light, air, and moisture. To protect your freshly dried dill:
- Transfer the ground or crumbled dill into airtight glass containers, such as small jars with tight-fitting lids. Glass is preferred as it doesn't absorb odors and is easy to clean.
- Store the containers in a cool, dark place, such as a pantry or cabinet, away from direct sunlight, heat, and humidity. Avoid storing dried herbs near the stove or above a microwave.
Properly dried and stored dill can retain its potent flavor and vibrant aroma for 6 to 12 months. Beyond this, it won't spoil, but its flavor will gradually diminish.
Why Go Through the Trouble of Drying Your Own Dill?
You might be wondering if drying your own dill is truly worth the effort when you can simply buy it pre-dried at the store. The answer, unequivocally, is yes!- Superior Flavor and Aroma: Home-dried dill often retains a much stronger, more vibrant flavor and aroma compared to commercially dried versions. The delicate drying processes ensure that more of the essential oils are preserved.
- Control Over Quality: If you're using homegrown dill, you know exactly how it was grown – free from pesticides and chemical treatments. This allows you to enjoy truly organic dried dill.
- Cost-Effectiveness: Drying your own dill from a garden harvest or a large grocery store bunch is significantly cheaper than continually buying small jars of dried dill. It's a fantastic way to stretch your budget.
- Reduce Waste: Don't let excess fresh dill go to waste! Drying it ensures you get the most out of your purchase or harvest.
- Year-Round Convenience: Having a jar of your own dried dill means you're always ready to add that distinct flavor to your dishes, no matter the season.
